Difference between revisions of "User:Pon/Sandbox/cp1 area1 spawn"
m (WIP stuff for ff_dustbowl mapguide) |
m (Added small navbox for browsing screenshots) |
||
| Line 4: | Line 4: | ||
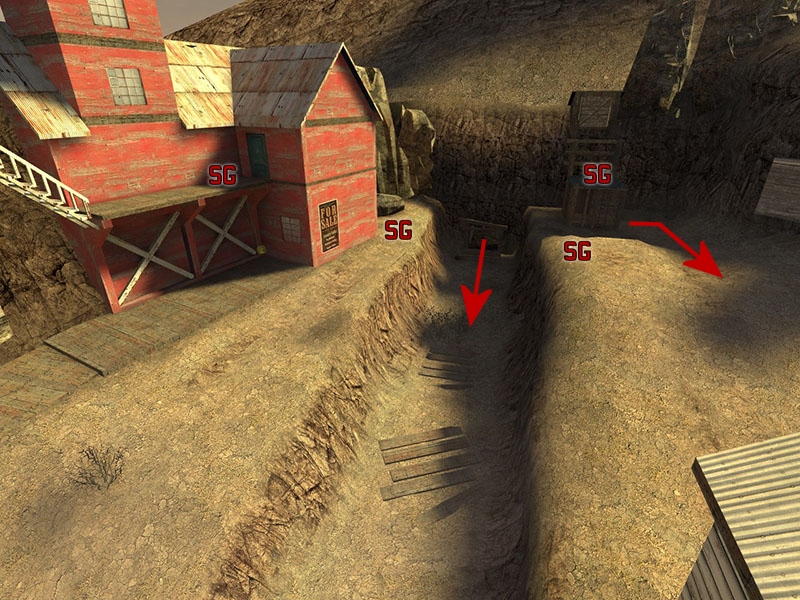
[[Image:Ff_dustbowl_cp1_area1_spawn.jpg|frame|center|Attacker's Spawn area, Command point One. Denoted are good defensive spots for Sentry Guns ("'''SG'''"), as well as the routes the attacking team will be forced to use 90% of the time.]] | [[Image:Ff_dustbowl_cp1_area1_spawn.jpg|frame|center|Attacker's Spawn area, Command point One. Denoted are good defensive spots for Sentry Guns ("'''SG'''"), as well as the routes the attacking team will be forced to use 90% of the time.]] | ||
| + | {{Guide Navbox/Mapguide|Dustbowl Valley|../|../cp1_area1}} | ||
==Defenders== | ==Defenders== | ||
Latest revision as of 14:41, 26 January 2008
|
Command Point One, Attackers Spawn
DefendersThe spawn exit is split into two, fairly seperate openings - one low, and one high. As such, having to concentrate on both is a drawback to the defenders. Well placed snipers can help in this reguard, as well as the standard tactic of building Sentry Guns to cover the entrances (there are a few points where a Sentry can cover both exits effectivly). Demomen can also work wonders, with a well-timed detpack, and pipes covering the exits for early spy rushes.
AttackersFor the attackers, a good spy or two who can take out the Sentry guns usually helps immensly. A Sniper at the lower exit can also be useful against Sentries covering that exit - though they aren't much help at the higher exit, unless you can get around the back of the hut and into some cover.
|
||||||||||||||
