Difference between revisions of "User:Pon/Sandbox"
From Fortress Forever Wiki
< User:Pon
Jump to navigationJump to searchm (More layout crap) |
m (Last of the thumbnails added (probably)) |
||
| (One intermediate revision by the same user not shown) | |||
| Line 1: | Line 1: | ||
{{Infobox manual/Header}} | {{Infobox manual/Header}} | ||
| + | {{Work_In_Progress | Working on the layout for screenshots on the ff_dustbowl mapguide. Feedback welcome and encouraged, as is pointing out any wikicode mistakes/improvements!}} | ||
=Setting= | =Setting= | ||
| Line 41: | Line 42: | ||
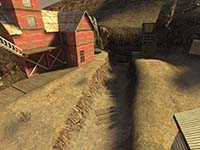
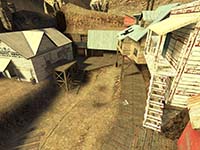
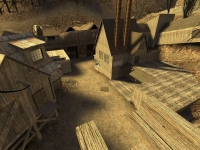
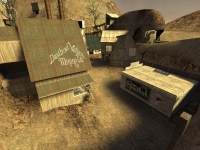
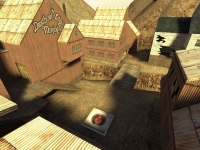
| {{Guide Navbox/Screenshot|screenshot=Ff_dustbowl_cp2_area2_abovecap|name=Looking from the CP|link=/cp2_area2_abovecap}} | | {{Guide Navbox/Screenshot|screenshot=Ff_dustbowl_cp2_area2_abovecap|name=Looking from the CP|link=/cp2_area2_abovecap}} | ||
| {{Guide Navbox/Screenshot|screenshot=Ff_dustbowl_cp2_area2|name=Towards the CP|link=/cp2_area2}} | | {{Guide Navbox/Screenshot|screenshot=Ff_dustbowl_cp2_area2|name=Towards the CP|link=/cp2_area2}} | ||
| + | |} | ||
| + | |||
| + | |||
| + | ==Command Point Three== | ||
| + | |||
| + | |||
| + | {| style="color:white; margin: 1em auto 1em auto" | ||
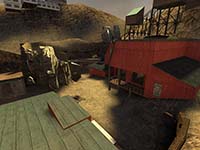
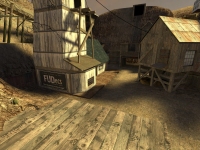
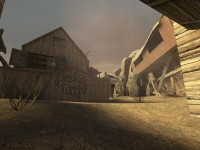
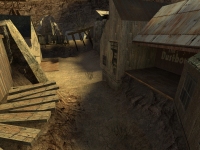
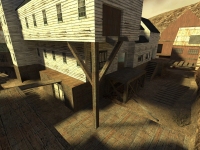
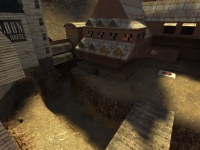
| + | | {{Guide Navbox/Screenshot|screenshot=Ff_dustbowl_cp3_area1_spawn|name=Respawn Exit|link=/cp3_area1_spawn}} | ||
| + | | {{Guide Navbox/Screenshot|screenshot=Ff_dustbowl_cp3_area1_back|name=Back of First Area|link=/cp2_area1_back}} | ||
| + | | {{Guide Navbox/Screenshot|screenshot=Ff_dustbowl_cp3_midmap1|name=Looking up the Corridor|link=/cp3_mdimap1}} | ||
| + | |- | ||
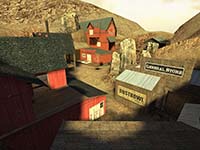
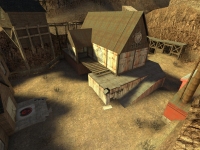
| + | | {{Guide Navbox/Screenshot|screenshot=Ff_dustbowl_cp3_midmap2|name=Looking Down the Corridor|link=/cp3_midmap2}} | ||
| + | | {{Guide Navbox/Screenshot|screenshot=Ff_dustbowl_cp3_cparea1|name=Towards the CP|link=/cp3_cparea1}} | ||
| + | | {{Guide Navbox/Screenshot|screenshot=Ff_dustbowl_cp3_cparea2|name=Looking from the CP|link=/cp3_cparea2}} | ||
|} | |} | ||
{{Navigation Map Guides}} | {{Navigation Map Guides}} | ||
{{Infobox manual/Footer}} | {{Infobox manual/Footer}} | ||
Latest revision as of 15:01, 26 January 2008
|
SettingBlah blah see proper page, I'm just formatting and so on here. :)
Playing the MapDustbowl Valley is the 'standard' Attack and Defend map. It consists of three Command Points, played one after another. The attacking team, Blue, wins if it can capture the final command point. The defending team, Red, wins if it can prevent this for the map time limit.
Command Point OneCommand Point Two
Command Point Three
|
