User:Pon/Sandbox
|
SettingBlah blah see proper page, I'm just formatting and so on here. :)
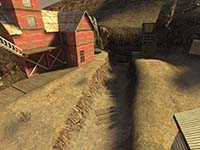
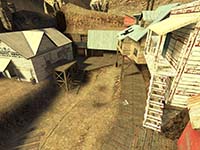
Playing the MapDustbowl Valley is the 'standard' Attack and Defend map. It consists of three Command Points, played one after another. The attacking team, Blue, wins if it can capture the final command point. The defending team, Red, wins if it can prevent this for the map time limit. Command Point OneDefenders(Note: The link will lead to a dedicated page describing the area, strategy and tactics, and so forth, with the larger version of the screenshot, likely edited with reference points) AttackersCommand Point TwoDefendersThere are two commonly used points for Sentry Guns at the spawn exit - in the building with the window facing the exits, and on the roof of the building nearest the exits. Both are useful, but vulnerable to a good Spy - protection of Sentries is probably most important at this command point given that. Again, Demomen are useful in that role, as are HWGuys - both classes are able make good use of the nearby grenade pack. Snipers are also useful, this time moreso as the exits are close together and one sniper can cover both. Once the exit has been breached, falling back as slowly as is possible is recommended - perhaps aided by a sentry gun around the corner covering the chokepoint entraces, or in the building nearby. The grenade pack is not something that the defending team should give up on, and given half a chance should try to push the battlefield back towards them if lost. The cap area provides some choice sentry gun locations, though you have three (four with the extraroute) exits to cover. Above the main exits are often a popular choice, as is on the centre building facing the exits - though that can be left vulnerable to people coming from the extra-route. The cap itself is vulnerable to a good grenade/conc jump from the side of the centre building, a good defence for that is to have either a Sniper or a HWGuy cover that route. At least one Demoman laying pipes on the cap is recommended as well. Aside from that, the general tactic of Sentries/Spy defence works well. AttackersIt is easy to get bogged down at the spawn exit here - Sentries will definitly be the main worry. Spies and Snipers can be effective in destroying them, but be mindful that there will very likely be MIRV's and grenades thrown into the exit - timing and patience are key. Try to control the grenades early, they provide a big advantage in the following chokepoints. Be mindful of possible sentries beyond, and when it opens, make good use of the extra-route - it runs past much of the best defensive points in the second area. The normal side exit is also useful for jumping to the Command Point - throw a grenade/conc just outside the exit of the route, and time your run carefully. The area infront of the cap has the potential to bog you down, especially if covered by multiple sentries.
|

